Creating a YouTube thumbnail is critical for content creators aiming to grab attention in a crowded digital space. With Adobe Photoshop, you can design thumbnails that stand out and drive clicks to your content.
In this article, we’ll walk you through why thumbnails are essential, how to use Photoshop tools effectively, and tips for achieving professional results.
Why Thumbnails Are Crucial for Your Content?

A thumbnail serves as the first impression of your video, acting as a visual handshake with potential viewers. It’s your chance to instantly convey what your content is about and pique curiosity. A well-designed YouTube thumbnail can significantly increase click-through rates, helping your video stand out in a sea of content. Thumbnails also play a vital role in enhancing your branding making your channel recognizable and memorable.
Furthermore, they give your videos a professional edge that signals quality to your audience. By using tools like Photoshop or beginner-friendly alternatives, you can create eye-catching thumbnails that not only captivate your audience but also drive engagement, ensuring your hard work gets the visibility it deserves.
Setting Up Your Photoshop Workspace for Thumbnail Creation

Start by opening Adobe Photoshop and creating a new document.
Resolution: Use 1920 x 1080 pixels for high-quality thumbnails.
Color Mode: Ensure the background is set to black or white, depending on your theme.
Organize your workspace by enabling necessary tools such as the Rectangle Tool, Text Tool, and Layers Panel.
Step-by-Step Guide to Creating a Thumbnail in Photoshop

Step 1: Create a New Document
-
Open Photoshop and go to File > New.
-
Set the dimensions to 1920 pixels (width) by 1080 pixels (height) to match the standard YouTube thumbnail size.
-
Set the resolution to 72 pixels per inch (ppi) (sufficient for digital display).
-
Choose a background color (e.g., black or a color that complements your content) or leave it transparent for more flexibility.
Step 2: Add Images and Graphics
-
Drag and drop your chosen image or photo onto the canvas, or go to File > Place Embedded to import it.
-
Resize the image using Ctrl + T (Windows) or Cmd + T (Mac), holding down Shift to maintain proportions while scaling.
-
Position the image to suit your design.
Step 3: Highlight Key Areas Using Shapes
-
Select the Rectangle Tool (or other shape tools like ellipse or polygon) from the toolbar.
-
Draw shapes to create borders, highlight areas, or serve as backgrounds for your text.
-
Customize the shape’s color, opacity, and effects using the Properties panel or Layer Styles.
Step 4: Write Engaging Text
-
Use the Text Tool (T) to add a compelling title, keyword, or call-to-action (CTA) to your thumbnail.
-
Choose bold, readable fonts that align with your brand.
-
Experiment with text effects like drop shadows, strokes, or gradients in the Layer Styles menu (right-click > Blending Options) to make the text stand out.
Step 5: Enhance Colors and Contrast
-
Use adjustment layers such as Brightness/Contrast, Hue/Saturation, or Color Balance to make the image vibrant.
-
Apply adjustments only to specific layers using clipping masks (Alt + Click between layers in the Layers panel).
Step 6: Add Visual Elements for Focus
-
Incorporate arrows, icons, or emojis to emphasize key parts of the thumbnail.
-
Use the Custom Shape Tool or import PNG graphics for unique elements.
-
Apply subtle effects like an outer glow or bevel/emboss to ensure these elements are attention-grabbing but not overwhelming.
Step 7: Final Touches and Export
-
Review the thumbnail to ensure it’s visually balanced, legible, and aligns with your branding.
-
Save the project as a PSD file for future edits.
-
Export the thumbnail in a web-friendly format:
-
Go to File > Export > Save for Web (Legacy).
-
Choose JPEG or PNG format with a resolution optimized for digital use.
-
Tips and Tricks for Designing Thumbnails That Stand Out

When creating eye-catching thumbnails, consider these Photoshop thumbnail tips:
-
Keep the design simple and clean. Avoid clutter to ensure the focus stays on the main elements.
-
Use bold, contrasting colors for readability. Bright colors with high contrast help your thumbnail pop, even on smaller screens.
-
Ensure the thumbnail aligns with your content’s theme. Consistency in design strengthens your branding and helps viewers immediately recognize your style.
-
Test different designs to see what resonates with your audience. Photoshop’s flexibility allows you to experiment with layouts, colors, and text styles to optimize engagement.
By leveraging these Photoshop thumbnail tips, you can create professional designs that stand out in a crowded digital space.
Perfecting Your Thumbnails for Success
Mastering how to make a thumbnail in Photoshop is a valuable skill for any YouTube creator. Using Photoshop thumbnail editing tools like layers, text effects, and filters, you can create designs that stand out and align with your brand. By following these steps and tips, you can craft thumbnails that not only attract viewers but also elevate the perceived quality of your videos.
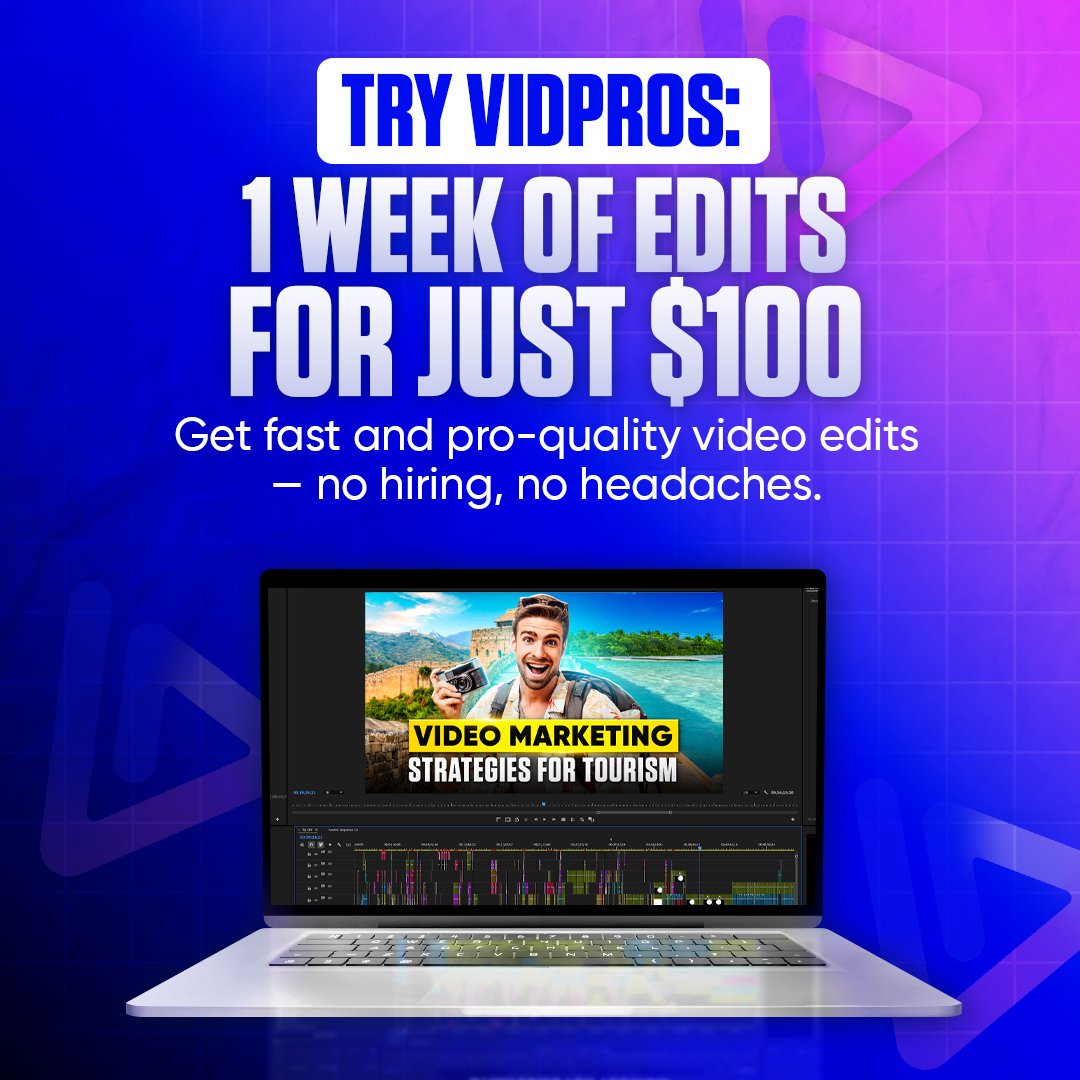
If you’re looking for professional video editing and thumbnail design services, look no further than Vidpros! Our team of experts can help you make the most of Photoshop thumbnail editing tools, craft the perfect thumbnails, streamline your workflow, and bring your creative vision to life. Contact Vidpros today to level up your content game!