Want to capture your special day on video without breaking the bank? Here’s how to film, edit, and create a professional-looking diy wedding video.
Wedding videos are essential for preserving memories from one of life’s most significant celebrations. Since couples started recording their ceremonies decades ago, wedding videos have evolved from simple recordings to cinematic productions that capture the event and its emotions.
If you’ve never filmed an event before, the thought of being responsible for documenting such a big day can be overwhelming, but it doesn’t have to be.
We’ll show you how to incorporate DIY videography into your wedding plans with a step-by-step guide on capturing beautiful footage and getting results beyond your expectations.
Why Wedding Videos Are Important
Wedding videos are treasured keepsakes that capture what photos can’t— the movement, sounds, and emotions of your special day. They’re most often cherished for preserving heartfelt vows, first dances, and spontaneous moments that become more meaningful as the years go by. Capturing all the moments of the wedding day ensures that every emotional and significant detail is documented from various perspectives.
Benefits of DIY Wedding Videography

Cost savings
Wedding videography can get expensive, especially if you’re hiring professionals with top-notch equipment. Creating your own video is a feasible and budget-friendly option. DIY videography is scalable and has low production costs– excellent for budget-conscious couples.
When working with a tight budget, filming your own wedding can be a cost-effective solution. Instead of spending thousands on professional services, you can redirect those funds to other essential aspects of your wedding celebration.
Creative control
When dealing with vendors, it’s harder than ever to get what you want. Different videographers have different styles and approaches to filming weddings. DIY wedding videography gives you total creative control over the final product. You can personally shape your video’s style, tone, and content to ensure it truly reflects your relationship and preferences, resulting in a beautiful wedding video.
Natural moments
With DIY wedding videography, you’ll probably capture more candid moments. Without strange professionals around you, your guests may feel more relaxed and more genuine in their interactions and emotions being captured on film.
Essential Equipment for DIY Wedding Videos
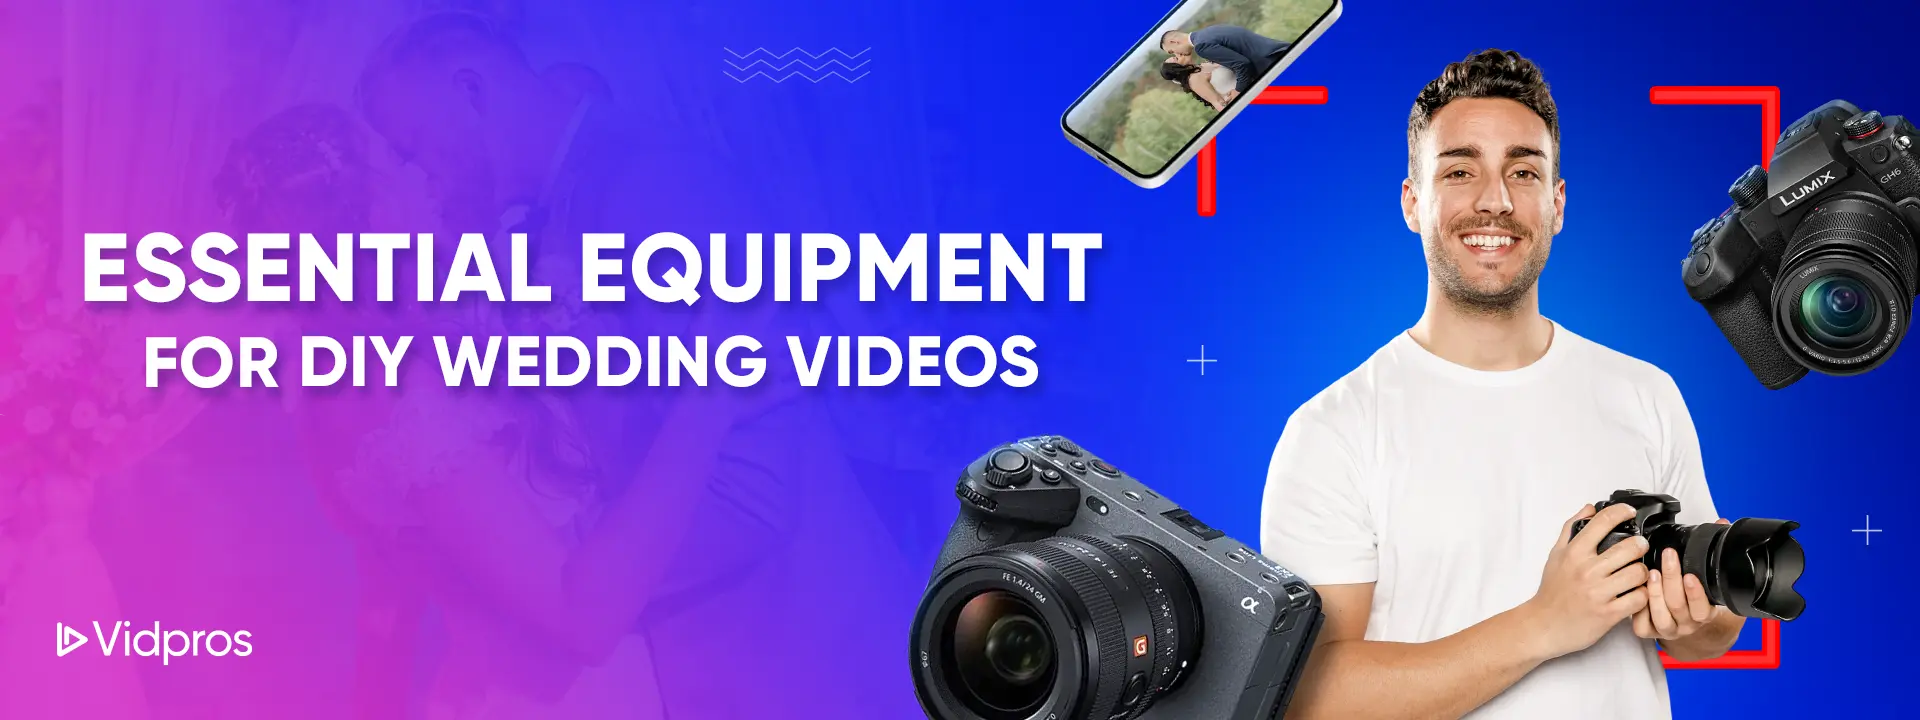
For DIY wedding videography, you have several camera options depending on your budget:
-
Smartphones with advanced capabilities, like the iPhone 16 or Samsung Galaxy S23 Ultra, can capture 4K footage.
-
Dedicated video camera setups can provide a more stable and professional result, especially when paired with tools like tripods. Having someone knowledgeable about key shots can further enhance the quality.
-
Mid-range options, entry-level DSLRs, or mirrorless cameras like the Canon EOS Rebel T8i or Sony Alpha a6100 offer more flexibility.
-
Higher-end cameras like Sony FX3 or Panasonic Lumix GH6 perform better in low light.
Audio Recording Options
Audio is crucial for wedding videos. That’s why professional videographers prioritize sound capture – without clear audio, emotional moments like vows and speeches lose impact.
Consider these:
-
Wireless lapel microphones like Sennheiser EW 112P G4 for clear vows and speeches.
-
Shotgun microphones like Rode VideoMic Pro for directional audio during ceremonies.
-
External recorders like Zoom H5 for multi-channel recording and as a backup
Stabilization Tools
Steady footage is essential for capturing a memorable video and requires proper stabilization equipment:
-
Tripods from Manfrotto for stationary moments like ceremonies and speeches.
-
Handheld gimbals like DJI Ronin-S or Zhiyun Crane 3S for cinematic results for smooth movement shots.
-
Monopods for a balance of stability and mobility for capturing dynamic wedding moments.
Lighting Equipment
Proper lighting ensures good footage in challenging venues:
-
Portable LED lights like Aputure Amaran AL-M9 for dimly lit reception venues.
-
On-camera lights for evening events without disrupting the atmosphere.
-
Reflectors to balance natural light for evenly exposed footage in outdoor settings.
Pack extra batteries, memory cards, and chargers to avoid interruptions during essential moments. Having backup equipment is better than being sorry during this once-in-a-lifetime event.
Your Wedding Video Shot List
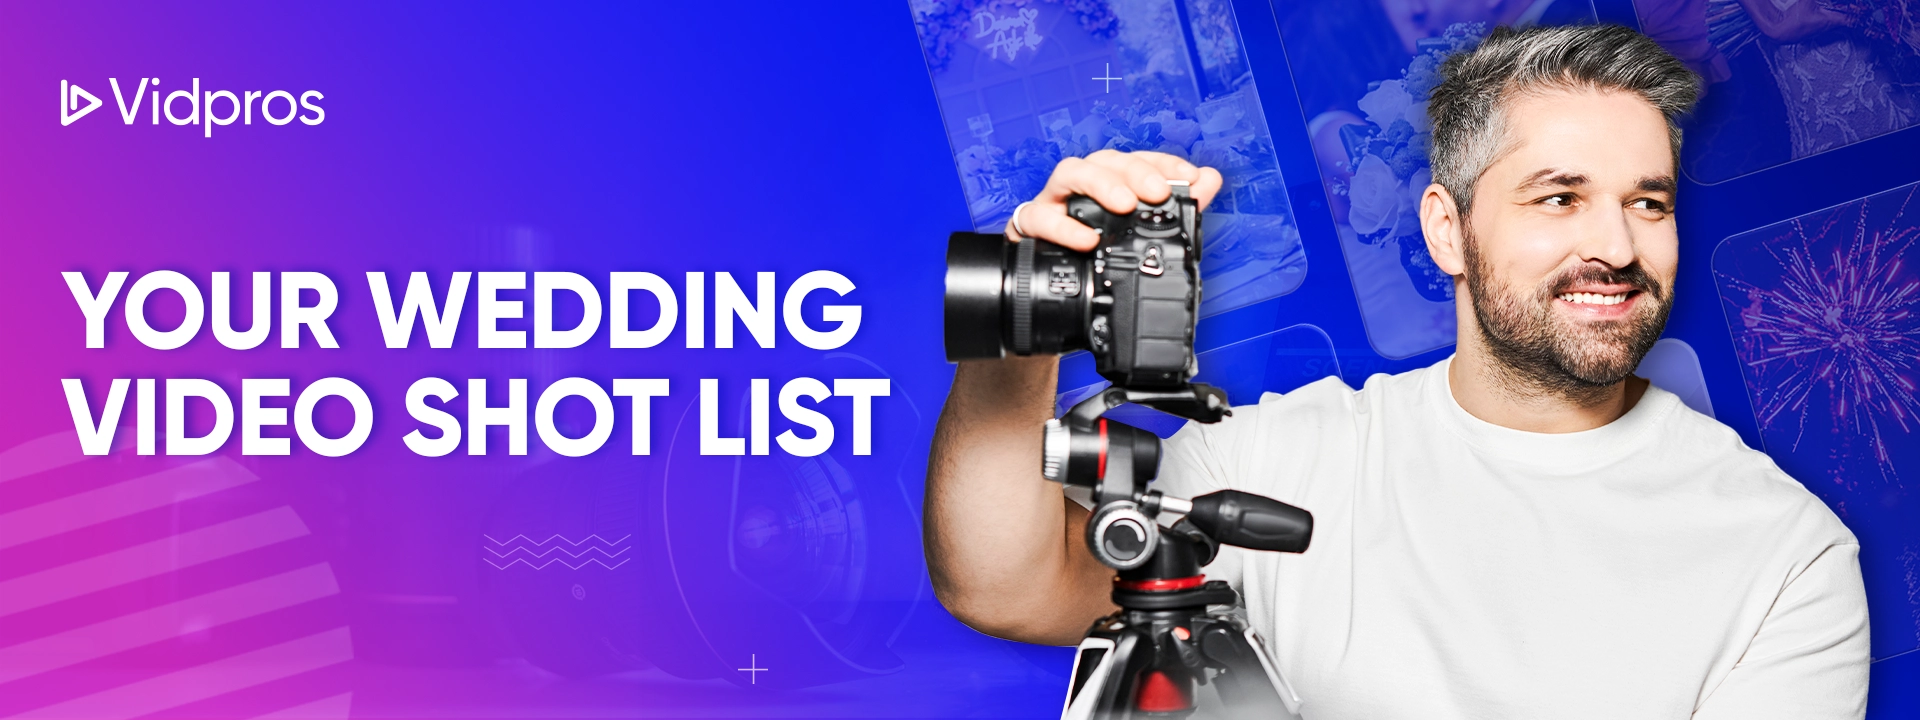
Must-Have Moments to Capture
Create a comprehensive shot list so you won’t miss any important moments of your wedding day. Capturing the wedding ceremony is crucial as it allows couples to relive and remember significant moments that they may overlook during the event:
Pre-ceremony preparations
-
Bride and groom getting ready.
-
Emotional exchanges like reading personal letters.
-
Venue before guests arrive.
Ceremony
-
Bride’s entrance and groom’s reaction.
-
Vows and rings.
-
First kiss.
-
Wide shots of the venue with guests.
Reception
-
First Dance
-
Parent dances
-
Toasts
-
Cake cutting
-
Bouquet toss
-
Spontaneous guest moments on the dance floor.
-
Couple’s final exit
Creative Angle Ideas
Film the bride walking from multiple angles, including her view and the groom’s reaction (if possible). Capture emotional details like close-ups of hands during the ring exchange. At the reception, use slow-motion for dynamic moments like the first dance or bouquet toss to add a cinematic feel. Record candid interactions between guests for natural, emotional footage that captures the authentic atmosphere of your celebration.
Communicating with Photographers
Coordinate with the wedding photographer beforehand and communicate your plans during key moments. Consider dividing responsibilities– photographers can do close-ups while videographers do wide shots. Using separate angles ensures variety in the final products and prevents one from appearing in the other’s shots.
Audio Planning
Audio is crucial for a great wedding video. For vows and speeches, use lapel microphones to get clear sound without background noise. A shotgun microphone or external recorder can pick up ambient sounds like applause and music. Test all audio equipment before the wedding day to avoid technical issues during critical moments.
With proper planning and coordination, your DIY wedding video will capture every precious moment of your special day.
Hiring Friends and Family to Help

How to Choose Reliable Helpers
When recruiting help for your DIY wedding video, choose organized, detail-oriented people who are comfortable with equipment. Look for friends or family members with an eye for detail or some camera experience. Assign roles that match their strengths– your tech-savvy cousin can operate the primary camera while your artistic friend does creative shots and angles.
Basic Training Before the Big Day
Train your team before the wedding. Schedule a practice session where helpers can familiarize themselves with the camera, microphones, and stabilization equipment. Teach basic shot composition principles like framing, lighting awareness, and how to avoid shaky footage. Record trial footage during rehearsals or pre-wedding events to build their confidence and address any questions.
Simple Shot Guidelines
Give your helpers clear, simple shot guidelines that outline must-capture moments like vows, first dance, and cake cutting. Include examples of preferred angles and framing– wide shots for the entire ceremony, medium shots for group interactions, and close-ups during emotional moments. Encourage creativity but emphasize consistency throughout all footage.
Scheduling and Roles
Create a detailed plan dividing tasks among your team. For example, assign one person to film the ceremony and another to film reception highlights. Create a timeline based on your wedding schedule to make sure you get comprehensive coverage without redundant filming. Have a quick meeting on the wedding day to review everyone’s roles and address any last-minute issues to ensure your videography plan runs smoothly.
Pixicuts
If you want to capture moments your main camera crew will inevitably miss,
Pixicuts is worth a look.
It’s a SaaS platform that turns your wedding guests into a built-in second-shooter team: couples share a single link or QR code, and guests upload photos, videos, and voice notes straight from their phones — no app to download, no account to create.
Pixicuts then curates the flood of uploads, filtering out the blurry duplicates and surfacing the moments that actually matter. From there, you can turn the collection into a cinematic highlight reel
(professionally edited), a hand-assembled Instax album, or a downloadable digital gallery.
It’s a low-effort way to fill in the candid, behind-the-scenes angles a single DIY videographer can’t be in two places to catch, and it’s free to start.
Day of Execution Tips
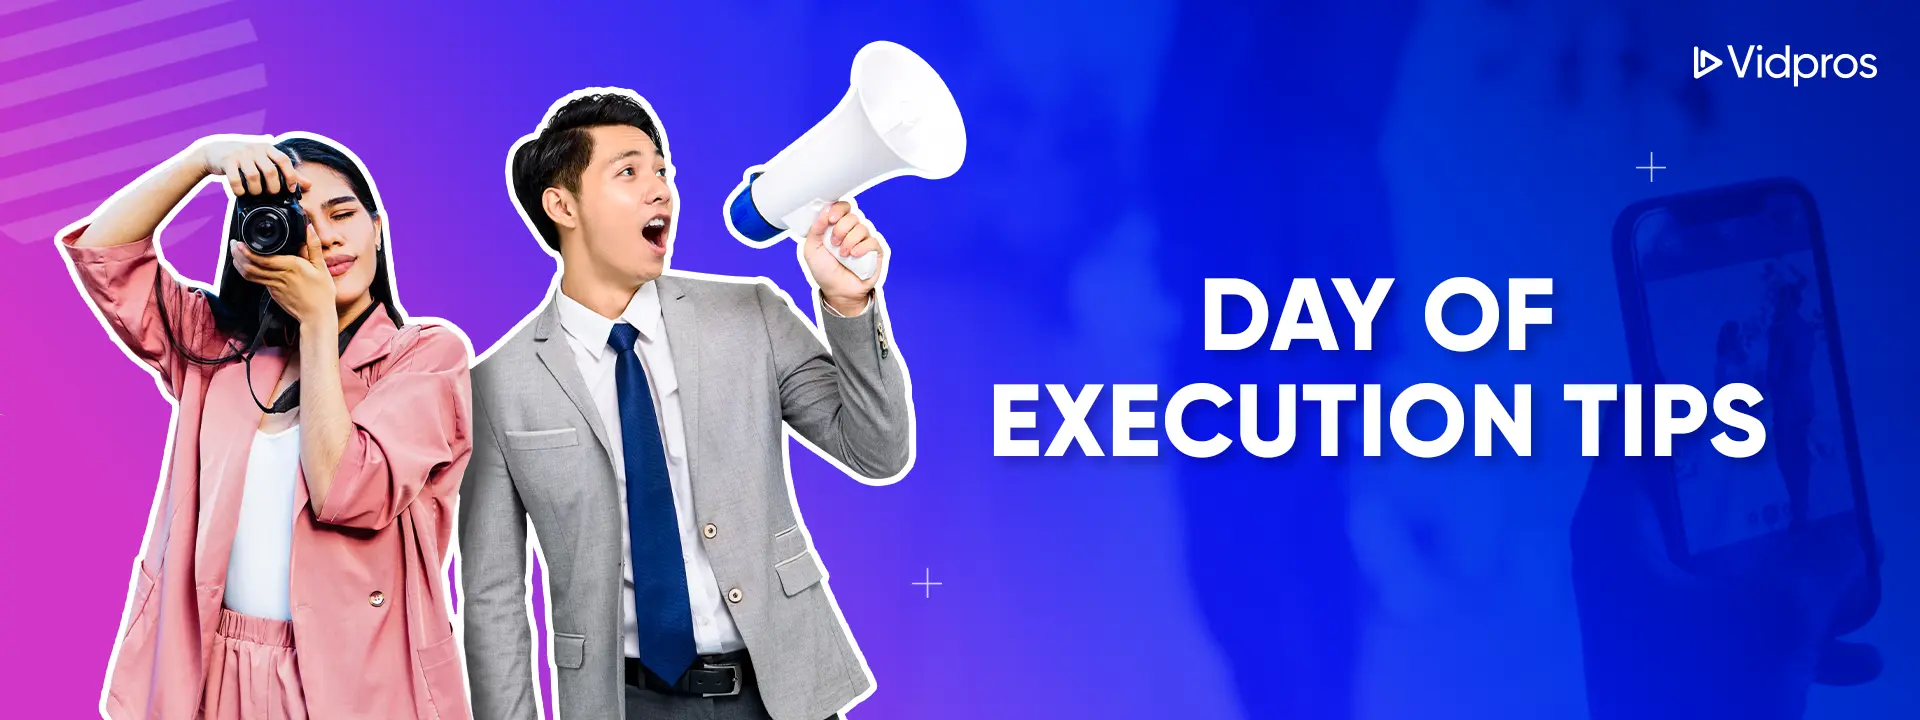
Camera Setup Timeline
Arrive at least 1-2 hours before the ceremony to give yourself time to set up equipment and location scout. This early arrival allows you to position cameras and resolve any unexpected issues. Label all your equipment with your contact information if something gets lost during the event.
For ceremonies, identify unobstructed views of the aisle and altar; for receptions, determine the best angles for speeches and dances. Test all equipment before guests arrive to make sure cameras, microphones, and lighting are working and calibrated.
Battery and Storage Management
Weddings can be long events, so power and storage management is critical. Bring multiple fully-charged spare batteries for all devices to avoid interruptions during key moments. Pack several high-capacity memory cards and create a system to track which ones are used and which are left. Having a backup camera or audio recorder as a backup is essential in case your primary equipment fails.
Contingency Planning for Errors
Prepare for problems by having a backup plan. Bring rain covers or umbrellas to protect your equipment from sudden weather changes if filming outdoors. Create audio redundancy by using multiple microphones simultaneously– perhaps a lapel mic for the ceremony and a shotgun mic for ambient sound. Identify alternative camera positions in case your planned spots become blocked by guests, decorations, or other unexpected elements.
Balancing Videography while Enjoying the Moment
To be part of the celebration and capture great footage, delegate tasks to your helpers. Assign one person to film formal moments and another to capture candid interactions. Focus on the essential shots yourself– vows, first dance, and speeches, and take breaks during less critical parts of the event. Coordinate with the wedding planner or master of ceremony to stay informed of the schedule without constantly checking so you can anticipate the key moments while still enjoying the celebration.
Post Wedding Video Editing
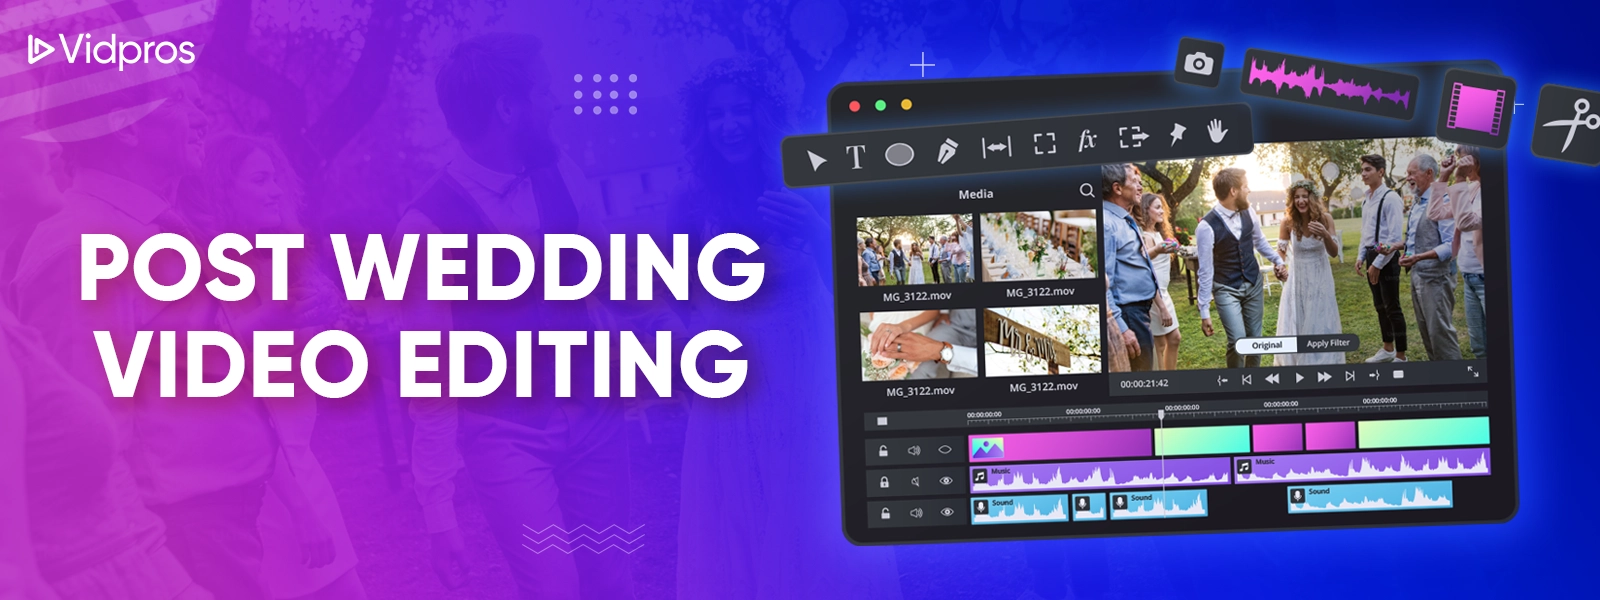
Recommended Editing Software for Beginners
Several editing platforms are available for DIY wedding videographers with different skill levels:
-
Wondershare Filmora has a user-friendly interface with pre-made templates and effects for beginners.
-
Adobe Premiere Pro has professional tools, including multi-camera editing and precise audio sync, but requires more time to learn.
-
MAGIX Movie Studio Platinum has drag-and-drop functionality with templates for overlays and split screens.
-
iMovie (for Mac users) is a free option that does basic editing well.
-
DaVinci Resolve has a robust color correction and professional features that are free.
Basic Editing
Organize all your video files in a folder, ensuring you have all the footage before you begin. Then arrange clips chronologically in your timeline to create a natural flow. Trim unnecessary or repetitive sections to keep viewers engaged and at the right pace. Use smooth transitions like crossfades or dissolves between scenes and avoid too many special effects that might distract from emotional moments. Add a B-roll of venue details, decorations, and guest reactions to add visual interest and context to key moments.
Music and Sound
Choose royalty-free music from Epidemic Sound or Artlist that matches your wedding atmosphere. Sync external audio recordings of vows or speeches with video footage using waveform matching tools in your editing software. Add subtle sound effects or ambient noise where necessary. Balance music volume with important speaking moments to ensure clarity of vows and speeches.
Color Correction
Adjust the white balance to have consistent colors throughout all your footage. Correct exposure issues by adjusting brightness and contrast to reveal details in over or underexposed parts. Apply consistent color grading throughout your video to have a cohesive look– warm for romantic moments and neutral for ceremony footage. This will give your video a professional look despite varying lighting conditions throughout your wedding day.
Save your project often and create backups of your raw footage and edited files to protect your work.
When to Hire a Professional Video Editor

After filming your wedding, you may need professional video editing help in the following situations:
-
Without expert guidance, there is too much footage to organize into a coherent story.
-
Technical issues like poor lighting, camera shake, or inconsistent audio quality require specialized tools and knowledge to fix.
-
Too much time commitment– usually 30-40 hours for an entire wedding video which is impractical during your post-wedding period.
-
Want cinematic results with smooth transitions and professional color grading may be hard to achieve on your own.
Benefits of Professional Editing for DIY-Filmed Content
Professional editors turn raw footage into stories by structuring narratives focusing on emotional highlights while keeping the natural flow. A professional wedding videographer can enhance your wedding experience by capturing high-quality memories with their expertise.
They have the technical expertise to deliver consistent visual quality through color correction, audio balancing of speech with background sounds, and multi-camera sync. Most importantly, professional editing saves you time and stress by handling technical challenges so you can focus on other things after your wedding.
How Services Can Enhance Raw Footage
Editing services specialize in transforming amateur footage into professional content. They use industry-standard software to make precise edits, enhance difficult lighting situations, correct audio issues, and organize a lot of footage into a cohesive narrative that matches your vision. They know what to pick and what to leave out to maintain the real emotion of your day.
Cost-Benefit Analysis of DIY Filming + Professional Video Editing
This hybrid approach offers significant financial savings. By creating a DIY video of your wedding using professional videography equipment rented from a camera rental service, you save on professional videographer costs (an average of $1,900) and have creative control over what gets captured.
Professional video editing services range from $25-$100 per hour, depending on experience and project complexity. A complete wedding video costs around $300-$800. This is way cheaper than full professional services and still produces great results. This is perfect for couples who enjoy filming but lack technical skills or software for advanced post-production work.
Capping off
Creating your wedding video offers significant benefits, including cost savings, creative control, and capturing natural moments, despite challenges like equipment management and time-consuming editing.
The right approach depends on your budget, priorities, and comfort with technology. Whether you handle everything yourself or combine DIY filming with professional editing from services like Vidpros, you can preserve your special day authentically while keeping costs manageable. Book a call with Vidpros today!