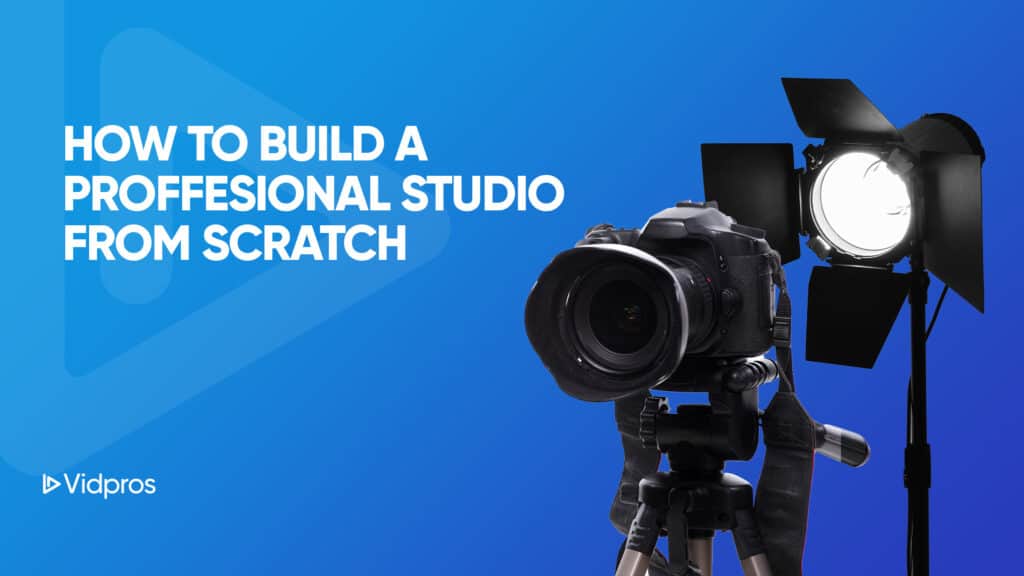
Incorporating video content into internal and external communications has become more common in businesses of all sizes. This includes individual and independent content creators.
It’s a fact studio environments are ideal for creating high-quality, professional videos.
Finding a suitable location and equipment to produce professional-grade videos is one of the biggest challenges.
With the number of digital agencies and content creators today, there aren’t enough video studio spaces readily available.
Finding one, scheduling a shoot, assembling a crew, traveling to the location, and arranging a crew all add to the hassle.
The solution is to create your own video studio.
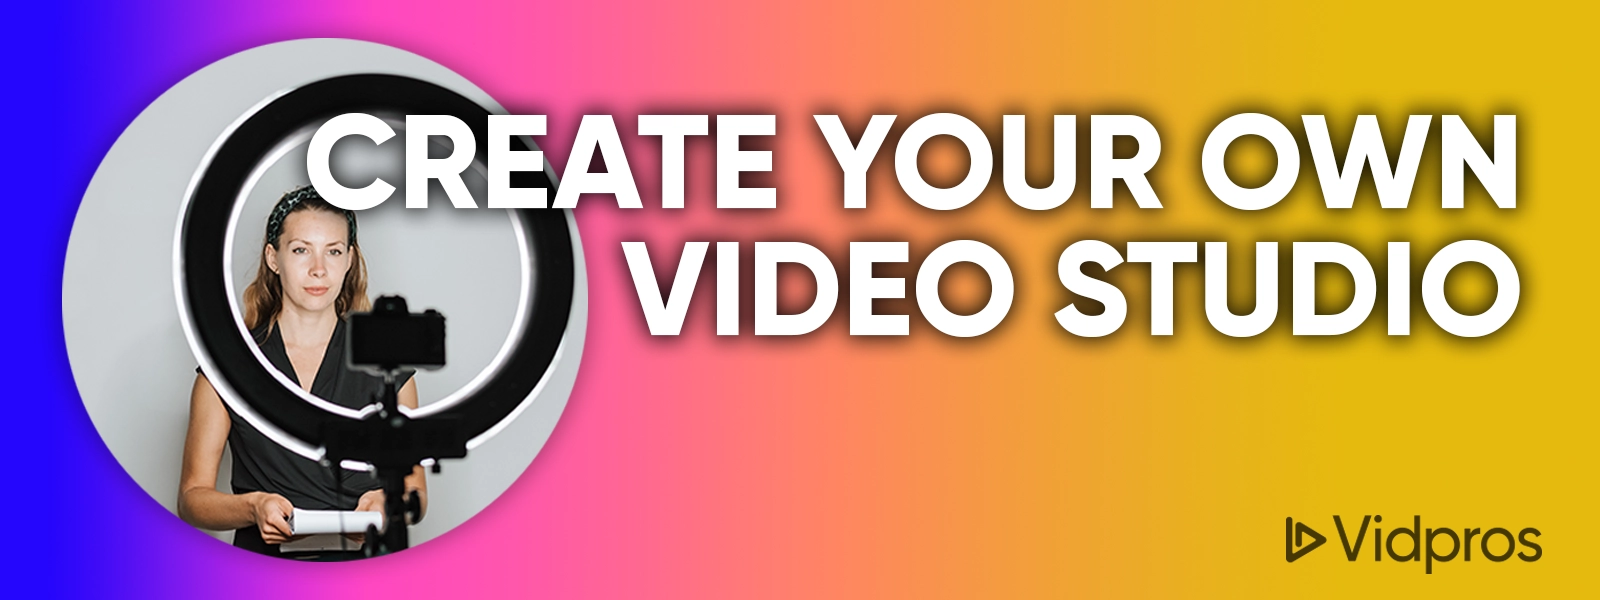
It may sound daunting, but with the market awash with all sorts of studio equipment with a wide range of price options, you can easily prep a small space and basic desk for setup when working on a modest budget or get the best productivity setup desktop and studio facility for those with money to burn.
Have you heard of a YouTube video setup that could cost you no more than $500? Surprisingly there is, so check out this video from Omar El Takrori of Think Media.
The untold benefits of having your video studio
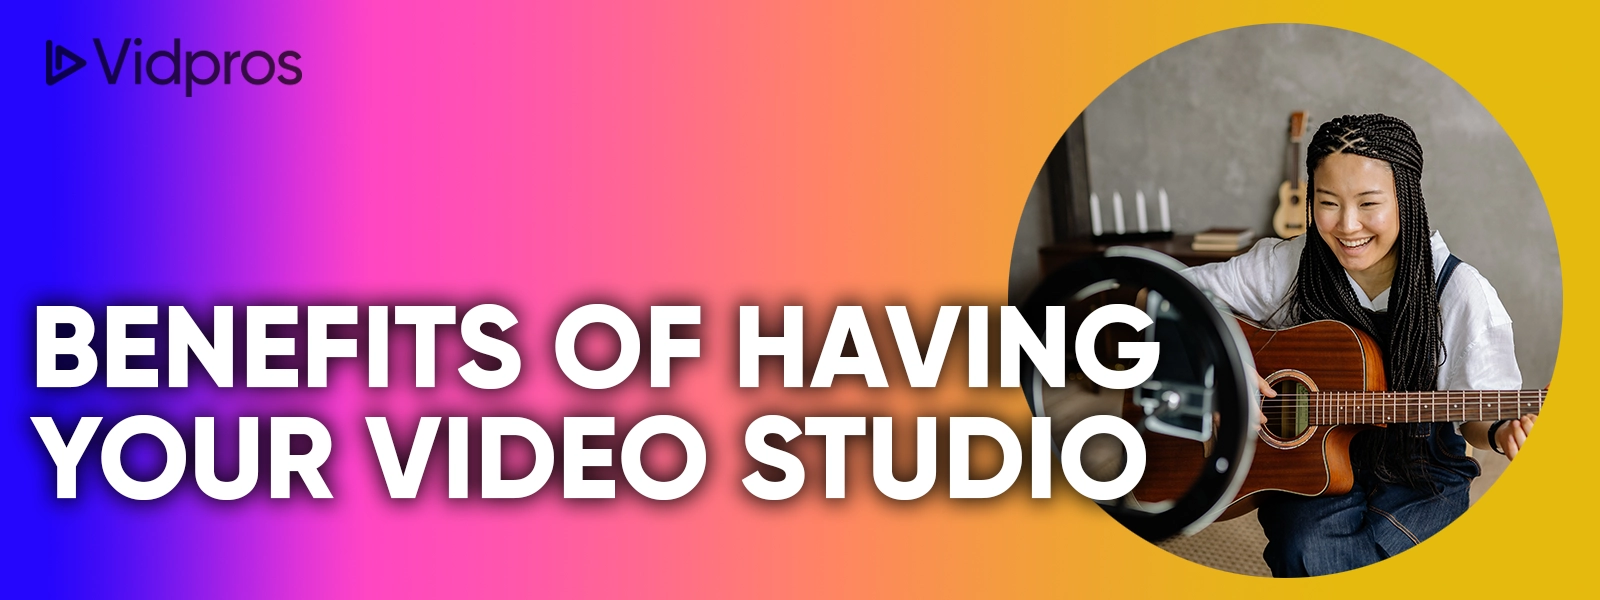
Cost-savings
Investing in a video studio in-house allows businesses and independent content creators to minimize video production spending, such as renting a professional video studio, traveling to and from the studio, film production, editing crew, etc.
Not having a fixed studio facility and location can also be a time and productivity-killer, compared to having one that can be used time and again at your own disposal and convenience.
For instance, if your next video is a sit-down interview with a high-profile personality, having your own studio set up and flexibility makes your job easier.
Besides, you can benefit from having your studio as a frequent content creator and beat the skyrocketing costs of renting one over time.
More freedom and flexibility
Having a dedicated video studio makes it easier to record and stream product demos, training videos, webinars, employee speeches, and much more.
You can even convert your studio into a conference area when meeting with colleagues, collaborators, or visitors without sacrificing the room’s video production functionality.
Speed up turnaround
There is no need to go through the hassles of scheduling a video shoot, booking a studio, and traveling to the facility location.
A studio on your premises means no setup or teardown time; the space is always ready for use.
This provides great peace of mind for you and your team, especially when you have a compelling urge to create content without a moment’s notice.
Having your own studio lets you control your time and resources and allow you to do what you want anytime, all the time.
Want to know why you need to have your own studio? Check out this video by YouTuber Maxwell Müller.
Critical considerations for your video studio setup
Video studio space size
It is generally recommended that rooms should not be smaller than 12 feet by 18 feet in size.
Ideally, the distance between the camera and the subject should be four feet, and the distance between the subject and the background should be four feet.
Shadows can be cast by shooting very close to a wall.
It’s always stunning on camera when the background is heavily blurred, and the subject is perfectly focused, but you must ensure proper spacing.
Choosing the right space
By having a permanent studio setup, you’ll be able to save a lot of time and motivate your team to create more videos.
Studio time should be free of distractions that can negatively impact your production.
You won’t have to worry about conflicting schedules or bookings, nor will you be bound by a time limit when renting a studio.
Acoustic insulation
Choosing a quiet space can be challenging but essential when setting up a video studio.
There is no point in including background noises such as air conditioning, construction, and wailing sirens in the final video.
An overly large and sparsely furnished space will create echo
ing noises as the sound bounces off walls.
Finding space with four walls is a good idea, but it would be wise to add acoustic foam panels or even hang blankets to dampen or eliminate echoes bouncing off the walls.
Production equipment
You’ll need high-quality equipment for your video production studio.
If you are looking for premium gear for your video production arsenal, you may want to check out this studio setup makeover video by YouTuber Andrew Ethan Zeng.
Here are a few tips for figuring out what is necessary versus what is not.
Video
![]()
Cameras
The studio will need high-end cameras and excellent lenses to achieve a polished and professional appearance.
Your best bets would be HD and 4K cameras such as the Canon EOS C-series, Z CAM E2C, Blackmagic URSA, etc. These may be a bit pricey, but the quality and performance are guaranteed.
The Panasonic Lumix GH5 is a good option if your budget is on the lower side.
Working on a tight budget for your studio equipment? Here’s how Nate’s Film Tutorials on YouTube can show you how your $100 can get you started.
Live streaming requires a camera equipped with a “clean” HDMI out, meaning there should be no UI overlays visible on the camera output feed when you stream.
Furthermore, the camera needs to remain active rather than automatically shutting off after a period of inactivity.
Camera lenses
The two main types of lenses are:
Zoom lenses – they have variable focal lengths. It allows you to zoom in and out to change your view angle.
Prime lens – a lens with a fixed focal length. When adjusting frame composition, the camera must be moved back and forth.
It is crucial to consider the size of the room when picking camera lenses.
Zoom lenses are recommended for business or corporate video studio production because they provide more control over the shot.
For example, having two Panasonic Lumix G X Vario lenses – the 14-45mm f/2.8 and the 35-100mm f/2.8 – generally works well in such settings. The first can capture a wider studio angle, while the second creates intense close-ups.
Do you need a lot of cameras?
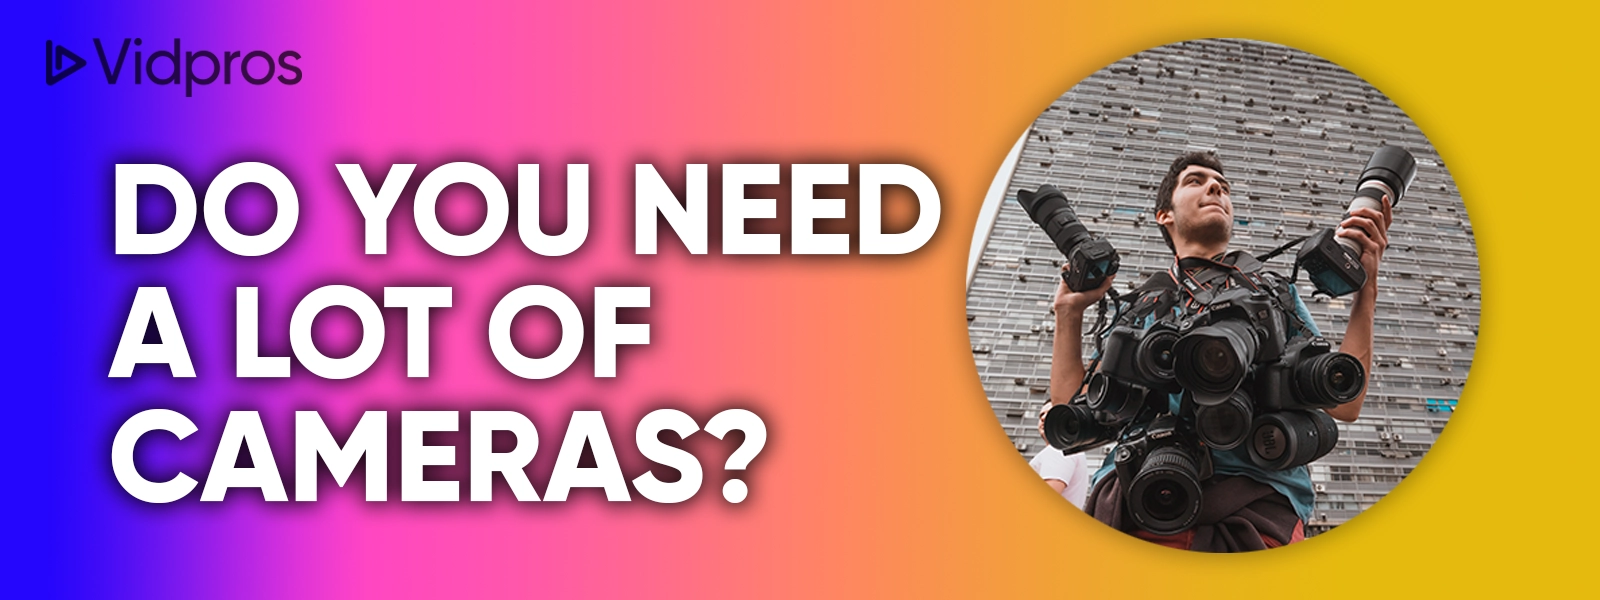
Although just one camera is sufficient, at least two angles can create a more dynamic visual effect.
Strategically having two cameras is better as it can create a wide shot for the primary camera and a close-up for the second one.
Stabilization
Ideally, cameras should be mounted on a tripod or something even sturdier, such as a wall or truss.
Alternatively, you could build a mobile studio setup by incorporating your gear into a professional-grade rack or cart.
Audio
![]()
Microphones
Often, the audio configuration is the most challenging part of video production. The most important thing is microphone placement.
It does not matter how expensive or professional a microphone is. If it is not placed correctly, the results will be poor.
It is generally recommended not to use camera microphones built into the camera, as they lack both quality and functionality.
It is essential to place the microphone as close to the subject or speaker as possible.
Wireless lapel microphones (also called lavalier microphones or lavs) are a wise investment.
A popular and versatile choice would be the Sennheiser EW 100. Additionally, a cardioid condenser boom mic could be used properly when placed in the proper location.
Alternatively, a boom microphone can be mounted on the ceiling or on a C-stand and hidden above the film frame’s top edge.
An IFB earpiece will also be necessary for an interviewee to hear the questions without creating an echo during a live interview.
Audio mixer
A sound mixer is another essential component.
How come? Each voice has its volume, timbre, and diction.
For this reason, each speaker’s microphone settings need to be adjusted individually.
When two people talk together, their volume settings should be adjusted accordingly, which is crucial as you change YouTube compatibility and quality audio results.
Furthermore, mixers can cancel out baseline background noise levels in the final recording.
You can opt to hire a professional for audio help to save time and trouble because getting audio right takes time and practice.
Lights
![]()
Lighting setups
It is generally better to use artificial lights than to depend on inconsistent daylight.
Studio rooms with windows should be blocked out with thick curtains to prevent natural light from entering.
Video images can be controlled more effectively with artificial lighting. However, when it comes to producing professional-looking videos, lighting the subject (usually a person) correctly makes a huge difference.
You can create even, three-dimensional lighting for your subject using a three-point lighting technique.
There are three basic light sources in three-point lighting: a key light, a fill light, and a backlight or rim light.
Typically coming in from the upper side, the key light is the most robust light source.
Fill lights, on the other hand, counter the harsh shadows created by crucial lights.
As the rim light is placed behind the subject, it produces a light glow that separates it from the background.
A three-point lighting system
Mounting
Lights on C-stands and ceiling-mounted lights are standard in professional light studios.
A C-stand makes a studio space look cluttered, whereas ceiling-mounted lights give it a cleaner look. The ceiling can be framed with trusses or rails to mount lights.
Light panels are easily moved in any direction using rails and scissor lifts.
Examples of studio lights
Lighting with LED bulbs is a better choice than using incandescent bulbs.
Unlike fluorescent lighting, LEDs don’t emit much heat, and it’s easier to control the color of the light (white balance).
Some examples include the Dracast PLUS series of ceiling-mounted lighting and the Savage RGB-50P Pro LED panels.
It is possible to remotely access and control all the settings of many LED light panels using mobile applications or web interfaces.
This requires an Ethernet lighting controller interface to control all the lighting.
Backdrops
Professional studios use seamless, infinite white or green screens, but these backgrounds are expensive and require a lot of space.
For those with a tighter budget, a multi-colored backdrop kit can easily be found for under $100 USD.
The backdrop of a large display is another option.
In addition to being able to display images, such as a company logo, displays with an aspect ratio of over 80 inches can also serve as green screens.
Backgrounds that aren’t solid are acceptable as well.
You could create a lovely backdrop with a bookshelf or a neat arrangement of plants.
To achieve a blurry background, ensure the subject is well separated from the environment, and the background is free of clutter.
Streaming and recording
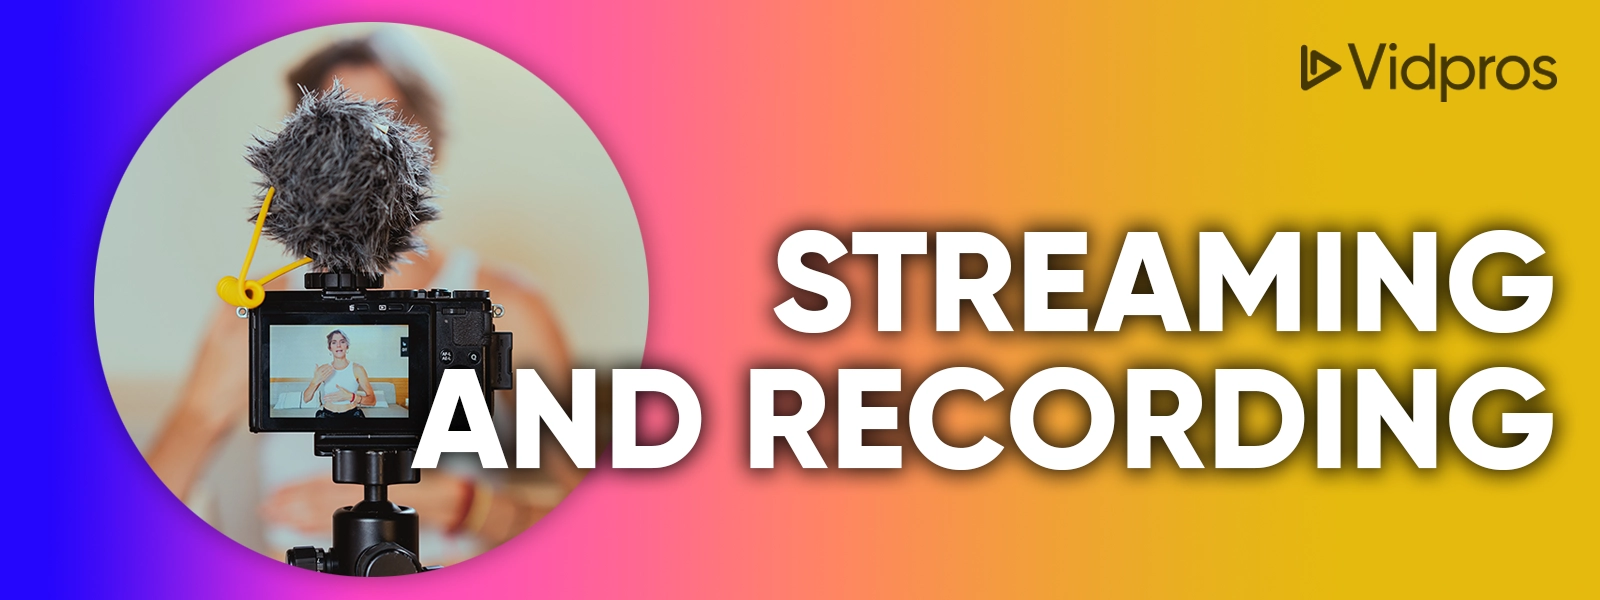
Streaming
If you are planning to stream to Facebook Live, YouTube, or a private content delivery network (CDN), consider adding a hardware encoder to your setup.
And with an all-in-one encoder you can stream and record video simultaneously.
To live stream, your facility will need ample dedicated Internet bandwidth.
A minimum of 15 megabits per second (Mbps) uplink is recommended.
For mission-critical situations, consider investing in alternative connection options such as cellular bonding.
Audio and video can be recorded in a variety of ways.
A Zoom recorder is usually used for recording audio separately, and the audio track is merged with the video track afterward.
A memory card is used to record video.
If you plan to record footage, ensure your memory card has enough space (and is fast enough).
Live broadcasting
Live streaming on broadcast TV is more challenging than live streaming to a content delivery network.
There are formats and restrictions related to transmission feeds specific to broadcast stations.
In addition, broadcast transmission signals must be of the highest quality.
It is also imperative that latency is minimized (i.e. not delayed by 10 seconds) so that the on-screen subject be able to hear and answer questions right away.
Consider using an IP broadcast transmission provider if you plan to appear live on television from your studio.
The following is an example equipment list for a professional video studio
Camera – Canon Cinema EOS C300 Mark II Camcorder Body with Dual Pixel CMOS AF. (Check here for pricing and details)
Desk – OUTFINE Dual Motor Height Adjustable Standing Desk (Check here for pricing and details)
Tripod –Manfrotto MVH500AH Fluid Video Head with MT190X3 Tripod (Check here for pricing and details)
Audio Mixer – TC-Helicon GO XLR Broadcast Production Studio Mixer (Check here for pricing and details)
Streaming and recording – H.264 IPTV HDMI Video Encoder 1080P 60Hz for Live Stream Broadcast (Check here for pricing and details)
Lavalier mic – Sennheiser EW 112P G4 – G Omni-directional Wireless Lavalier Microphone System (Check here for pricing and details)
Lens – Canon EF 24-70mm f/2.8L II USM Standard Zoom Lens (Check here for pricing and details)
Lights – Dracast Camlux On-Camera LED Video Light 3200K – 5600K Bicolor Adjustable CCT (Check here for pricing and details)
Adjustable height stool – Nazalus Rolling Swivel Stool Height Adjustable with Wheels (Check here for pricing and details)
Network router – TP-Link AC1750 Smart WiFi Router (Archer A7) -Dual Band Gigabit Wireless Internet Router (Check here for pricing and details)
Backdrop – EMART Photo Video Studio Backdrop Stand Kit, 8.5x10ft Adjustable Photography Green Screen Support System with 3 Muslin Backgrounds (Check here for pricing and details)
Additional equipment
You can enhance your video studio in many other ways. Such as adding teleprompters, confidence monitors, and clapperboards.
You may need different types of furniture for a variety of filming setups.
An interview might require two comfortable chairs, but a product demo might need a sturdy, counter-height table and stools with variable heights.
Never underestimate the power of gaffer tape, as it is a handy tool to find in your studio.
The tape can be used to tame unruly microphone cables, mark ideal floor locations, and avoid tripping over wires.
Using your studio more often will help you better understand your needs. You should put audio, video, and lighting on your priority list.
The process of sourcing equipment, assembling everything, and getting the spacing right takes time and experience.
If you are bent on producing many videos, having your own video studio is your best option.
Baring it All: An Upfront beCreatives Review
https://youtu.be/5gHBNpqC6nM?feature=shared beCreatives offers convenient online video editing with a modern, social media-friendly style. However, issues like inconsistent turnarounds, unexpected fees, and prioritization problems have caused
How to Edit a TikTok Video With Words After Posting
Editing a TikTok video after it is posted is not possible. However, users can easily download the video, delete it from their feed, edit it

Become a Content Creator that Counts (Not Another Influencer)
Many professionals have this weird stigma against calling themselves content creators. I get it, the term has some effect and can make you feel like
Best Video Editing Software for TikTok
TikTok’s in-app video editor is one of the best tools for content creators. However, other, more comprehensive types of softwareare out there, such as CapCut